Views: 0 Author: Site Editor Publish Time: 2025-09-05 Origin: Site
Wrong joist spacing can make the deck sag.
Not enough air flow can cause water problems.
Not using double joists where boards meet makes it less strong.
Bad subframes make the deck not last as long.
Do each step one at a time and trust the diy composite decking process. Careful work with composite dock decking pays off!
Pick good composite decking materials. This helps your dock last longer and is better for the planet. Try to find ones made from recycled stuff.
Make a plan for your dock. Measure the space first. Think about how much weight it will hold. This stops the dock from bending or breaking.
Use the correct fasteners and clips. These hold your decking in place. They keep the top flat and stop water from hurting it.
Be safe when you install the decking. Put on safety gear. Look for things that could cause accidents.
Take care of your dock often. Clean it and check for any problems. This makes your composite decking last longer.
Picking the right composite decking materials helps your dock last longer. It also makes your dock look nice. You should know what you need before you begin. Let’s look at the main things you need for your project.
Composite deck boards make up the main part of your dock. These boards are strong and do not get damaged by weather. They are easy to clean. Composite decking boards last longer than wood. They do not splinter or rot, even if they get wet. Choosing composite decking is good for the planet. Here’s why:
Made from up to 90% recycled materials, so you help reduce waste.
No need to cut down trees, which helps prevent deforestation.
No toxic chemicals needed for pest or decay resistance.
Made using 100% wind energy, which lowers the environmental impact.
Long lifespan means you replace them less often, making your dock more sustainable.
Measure your dock to find out how many boards you need. Always add a few extra boards to your list. This helps you have enough for your composite deck.
You need fasteners and clips to keep your decking in place. These small parts hold your composite decking materials tight. They also make your dock look neat. Some popular choices are:
Fastener Type | Features | Impact on Longevity |
|---|---|---|
Collated Cortex® | Conceals screws with color-matched plugs for a smooth finish. | Provides a seamless aesthetic, reducing wear. |
TigerClaw TC-G Clips | Designed for grooved decking, promotes even spacing and easy installation. | Ensures uniform surface, enhancing durability. |
Cortex Hidden Fastening System | Easy top-down installation, compatible with various decking lines. | Strong connection, minimizes movement over time. |
These fasteners work well with composite decking materials. They help your dock last longer. They also make your dock look clean because you do not see screws sticking out.
You need the right tools to make installing easy. Some tools are the same as those for wood. Composite decking materials need a few special tools too:
Use hidden fastener systems for a safer, better-looking dock.
Stainless steel screws work best because they resist rust and corrosion.
Pre-drill holes to stop boards from splitting, but check the instructions for your composite deck boards.
Always have a drill, saw, measuring tape, and safety gear ready.
When you gather all the materials and tools, your project gets easier. Make a checklist of everything you need before you start. This way, you will not forget anything!
Before you start building your dock, you need to spend time on careful preparation. Good preparation helps you avoid mistakes and keeps your project on track. Let’s break down what you need to do before you start installing your composite dock decking.
Start with a tape measure and a notepad. Measure the area where you want your dock. Write down the length and width. Sketch a simple layout so you know where each board will go. Think about how you will use the dock. Will you have heavy furniture or lots of people on it? You need to plan for load support. Here’s a quick guide:
Requirement | Description |
|---|---|
Minimum Load Support | Design your dock to hold at least 50 pounds per square foot (psf). |
Structural Component Sizing | Make sure joists and beams are spaced and sized to spread weight evenly. |
Accurate Load Calculations | Include live, dead, and snow loads if needed for your area. |
Check the weather in your area. Sun, rain, and humidity can change how composite decking acts. Planning for these environmental factors helps your dock last longer.
Safety should always come first during preparation. Look for hazards like uneven ground, water, or old equipment. Did you know that 25% of all reported warehouse injuries happen on or near docks? Common dangers include falls, broken boards, and poor lighting. Wear safety gear, keep your work area clean, and make sure you have good lighting. If you see damaged parts, fix them before you start.
Tip: Always double-check your tools and equipment before you begin. Safe preparation means fewer accidents.
You need to check if you need a building permit for your dock. Most towns and cities require permits for dock construction. Permits make sure your dock follows local rules and keeps everyone safe. If you skip this step, you could face fines, lawsuits, or even have to remove your dock. Insurance may not cover accidents on unpermitted docks. If you ever sell your home, unpermitted work can cause problems.
Take time for proper preparation. It saves you time and trouble later!
Building a strong dock frame starts with the right materials and methods. You want your dock to last, so pick materials that stand up to water and weather. Many people use pressure-treated lumber because it fights off moisture and decay. Some builders choose hardwoods like teak or cedar. These woods resist rot and work well in wet places. YellaWood is another good choice. It uses Southern Yellow Pine and eco-friendly treatments to boost durability.
For the base, you need piles to hold everything up. You can use steel, concrete, or timber piles. Steel piles give you high strength and work well for heavy docks. Concrete piles handle tough marine conditions. Timber piles are cheaper but need more care over time. You can drive piles into the ground with impact hammers or drill holes and fill them with concrete. Driven piles work best in good soil, while drilled piles help in tricky spots.
Tip: Always check your local building codes for the right post size. Common sizes include 4"x4", 4"x6", 6"x6", or even 8"x8" for bigger docks.
Once you set your piles, attach beams and stringers to create a solid frame. Make sure everything lines up straight and sits level. This step gives your dock the strength it needs to support composite decking.
Joist placement is key for a safe and sturdy dock. You want to space your joists just right. Most composite decking brands recommend 16 inches on center for boards that run straight. If you plan to lay your boards at a 45-degree angle, tighten the spacing to 12 inches on center. Some brands, like WearDeck, let you go up to 24 inches, but always check the manufacturer’s guide.
16" on center for straight decking
12" on center for diagonal decking
Never exceed the span listed by your decking brand
Proper joist spacing spreads weight evenly. If you space joists too far apart, your deck might sag or feel bouncy. Stick to the recommended spacing to keep your dock strong and safe. Always double-check your layout before you move on to the next step!
Installing composite dock decking can feel like a big job, but you can break it down into simple steps. If you follow each part of the decking installation process, you will get a dock that looks great and lasts for years. Let’s walk through how to install composite decking, from the first strip to the final trim.
Start/stop strips help you get a clean edge at the beginning and end of your dock. You want to secure these strips before you lay your first board. Here’s how to install composite decking with start/stop strips:
Place the start strip along the edge where you want your first board.
Use stainless steel screws to attach the strip to the joist. Make sure the strip sits straight.
Snap your first composite decking board into the strip. This holds the board tight and keeps it from moving.
At the end of your dock, use a stop strip to finish the last board. This keeps the board from sliding out of place.
Tip: Always check the manufacturer’s guide for the right type of strip and screw. Some brands need special strips for composite dock decking.
Getting the boards straight and spaced right is key when you install composite decking. If you skip this step, you might see problems like water pooling, warping, or even buckling. You want to leave enough space for the boards to expand and contract with the weather.
Here’s a quick table to help you with gaps:
Gap Type | Recommended Gap |
|---|---|
Width-to-Width Gaps | 3/16-inch (5 mm) |
3/8-inch (10 mm) in high-moisture environments | |
End-to-End Gaps | 1/8-inch (3 mm) above 40°F (4.5°C) |
3/16-inch (5 mm) below 40°F (4.5°C) | |
Gapping at Solid Objects | 1/4 inch (6 mm) to 1/2 inch (13 mm) depending on weather conditions |
If you do not leave these gaps, you might see:
Water pooling on your dock
Boards warping or buckling
Debris getting stuck between boards
Moisture building up and causing mold
Lay out your boards before you fasten them. Use spacers to keep gaps even. Double-check that each board lines up with the next. This step makes your dock look neat and helps it last longer.
When you install composite decking, you want the surface to look smooth. Hidden fasteners and clips make this easy. They hold the boards down without leaving screws on top. Here’s how to install composite decking with concealed fasteners:
Plug systems hide screws with color-matched plugs. This gives your dock a clean look and makes cleaning easier.
Hidden clips fit into grooves on the side of each board. These clips keep spacing even and let the boards move as they expand and contract.
Concealed fasteners also help stop water from getting into the frame. This protects your dock from moisture damage.
Note: Use a carbide-tipped drill bit when you pre-drill holes for composite decking. These bits last longer and make cleaner holes in tough composite material.
You can install composite decking faster with pre-assembled clips. Always follow the instructions for your brand. If you use the wrong fastener, your boards might not stay tight.
After you finish laying all the boards, you need to trim the edges for a clean finish. You have a few tool options for this step:
Tool | Description |
|---|---|
Miter Saw | Best for accurate crosscuts; can make 90-degree and 45-degree cuts. Support long boards for safety. |
Table Saw | Good for cutting boards lengthwise. Use two people for safety. |
Circular Saw | Works for both cross-cutting and ripping. Go slow for smooth cuts. |
Jigsaw | Use for curved cuts. Leaves a rough edge, so not for straight lines. |
Safety Tips | Wear safety gear, cut slowly, use sharp blades, and support the board to prevent accidents. |
Cut slowly and use sharp blades. Carbide-tipped blades work best for composite dock decking. Always wear safety glasses and gloves. Support the boards so they do not move while you cut.
Pro Tip: Clean up the edges with sandpaper if you see any rough spots. This step makes your dock look finished and safe to walk on.
Here’s a quick checklist to help you remember each step when you install composite decking:
Plan your layout and store your boards flat and dry.
Attach start/stop strips to the frame.
Lay out the first board and snap it into the start strip.
Use hidden fasteners or clips to secure each board.
Leave the right gaps between boards for expansion.
Trim the edges for a neat finish.
Inspect your work and clean up any debris.
If you follow these steps, you will avoid common problems like fading, scratches, or mold. Choose high-quality composite decking with UV protection. Keep your dock clean and dry. Use pads under heavy furniture to stop scratches. If you see mold, use a cleaner made for composite dock decking.
Building with composite decking gives you a dock that is strong, safe, and easy to care for. You save time on maintenance and get a dock that looks good for years. Now you know how to install composite decking the right way!
You want your dock to look finished and feel safe. Adding railings and edging does both. Railings help prevent falls, especially if kids or pets use the dock. Choose railings that match your composite decking for a clean look. Many brands offer railing kits that fit right onto your decking. Secure the posts tightly to the frame. Double-check that everything feels sturdy before you move on.
Edging gives your dock a polished edge. It covers the cut ends of your decking boards and keeps water from getting underneath. Use matching trim pieces or fascia boards. Attach them with hidden fasteners for a smooth finish. This step makes your successful composite decking installation stand out.
After you finish your composite deck installation, take time to clean and inspect your work. Here’s a simple routine to follow:
Sweep the deck to remove dust and debris.
Mix a mild cleaner with water.
Divide your dock into sections for easier cleaning.
Use a soft brush to scrub each section. Avoid hard bristles that can scratch composite decking.
Rinse with clean water.
Let the decking dry for 48 hours.
You should also check for loose boards or fasteners. Look for signs of rot or damage, even though composite decking resists most problems. Clear out any debris stuck between boards. This helps water drain and keeps your successful composite decking installation in top shape.
Keeping your dock in great shape is easy with a few habits. Clean your composite decking twice a year with warm, soapy water and a soft brush. Remove spills right away to stop stains from setting. If you use a pressure washer, keep it under 1,500 PSI and use a fan tip. Check the frame and fasteners every season. Tighten or replace anything loose. If you spot big problems, call a pro. These steps help your successful composite decking installation last for years.
Tip: In winter, use a plastic shovel to clear snow. Skip the salt to protect your decking.
Season | What to Do |
|---|---|
Spring | Inspect for damage, clean, tighten fasteners |
Summer | Sweep, check for mold, watch for cracks |
Fall | Remove leaves, inspect railings, deep clean |
Winter | Clear snow, check for ice, avoid salt |
You now know how to plan, build, and finish your composite dock decking. Careful planning helps you avoid mistakes. Following each step makes your dock last longer. Always follow safety rules. Check the manufacturer’s instructions before you start. Here are some important safety tips:
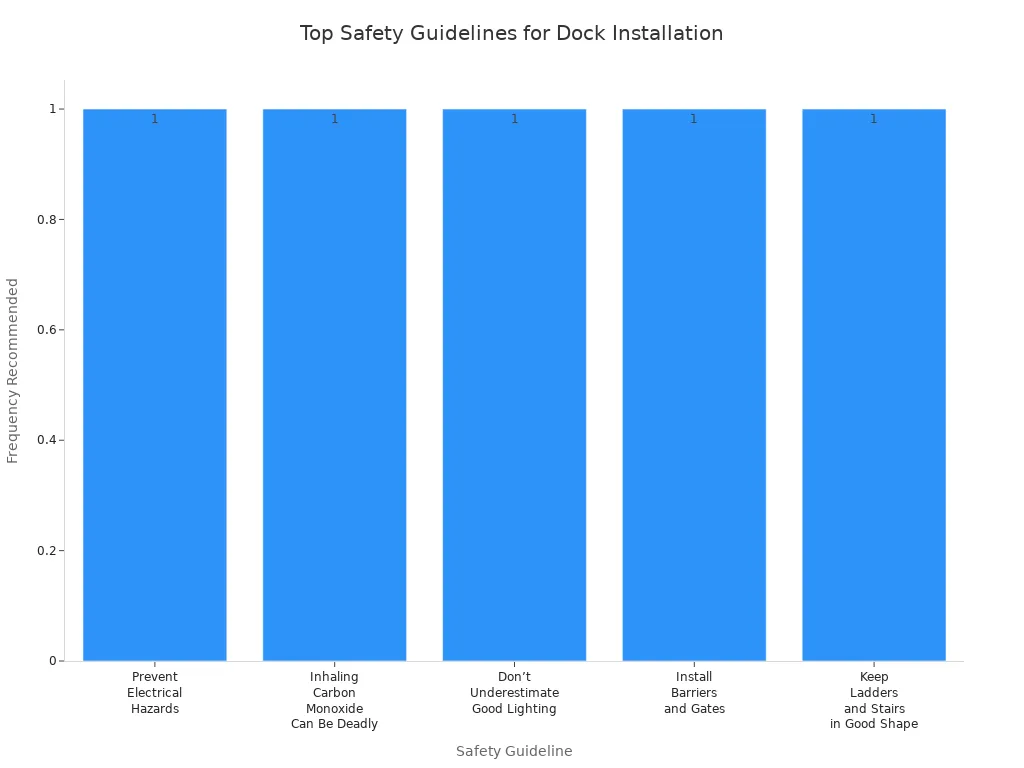
Safety Guideline | Description |
|---|---|
Prevent Electrical Hazards | Use GFCI outlets. Hire a professional for electrical work. |
Inhaling Carbon Monoxide Can Be Deadly | Keep engines and generators away from the dock. |
Don’t Underestimate Good Lighting | Add lights to stop trips and falls. |
Install Barriers and Gates | Use gates to keep kids and pets safe. |
Keep Ladders and Stairs in Good Shape | Check ladders and stairs often to make sure they are safe. |
Composite dock decking needs little care. It does not rot or splinter. It stays safe even when wet. Most composite decks last 25 to 30 years. Some brands give warranties up to 50 years. You can enjoy your new dock for many seasons!
You can expect your composite dock decking to last 25 to 30 years. Some brands offer warranties up to 50 years. Composite boards resist rot, splinters, and fading, so you get a dock that stays strong for decades.
Yes, you can use an old frame if it is in good shape. Check for rot, rust, or damage first. Replace any weak spots. A solid frame helps your new composite decking last longer.
No, you do not need to seal or paint composite decking. The boards come with built-in color and protection. Just clean them with soap and water. This saves you time and money on maintenance.
You get the best results with carbide-tipped saw blades. Use a miter saw for straight cuts and a jigsaw for curves. Always wear safety glasses and gloves when you cut composite boards.